05 Jul 2024
Installing aluminum trusses is a dangerous and complicated task, which requires strict follow-up of the installation steps. Next, I will briefly introduce the installation steps of standard aluminum trusses.
Step 1. Assemble extended legs
Assemble the 4 extension legs of the base first.
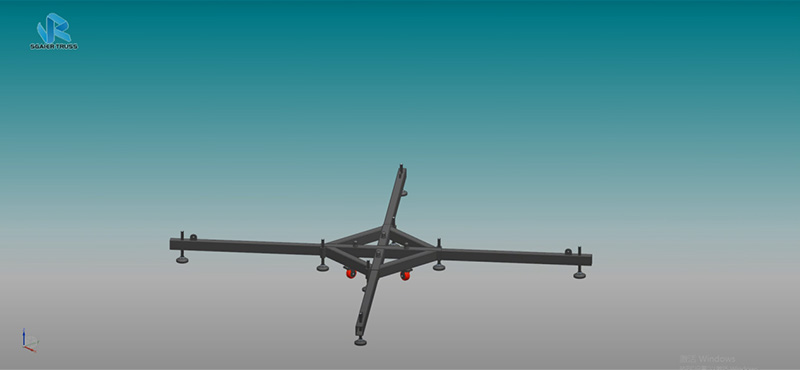
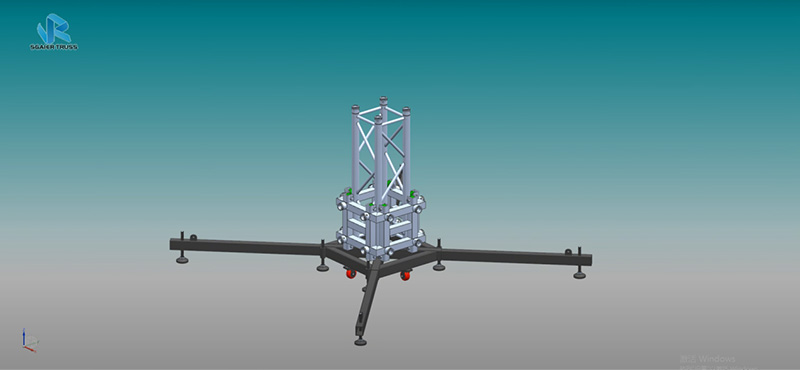
Step 2. Erect columns & sleeve blocks
Erect a truss column on the base and put on a sleeve block.
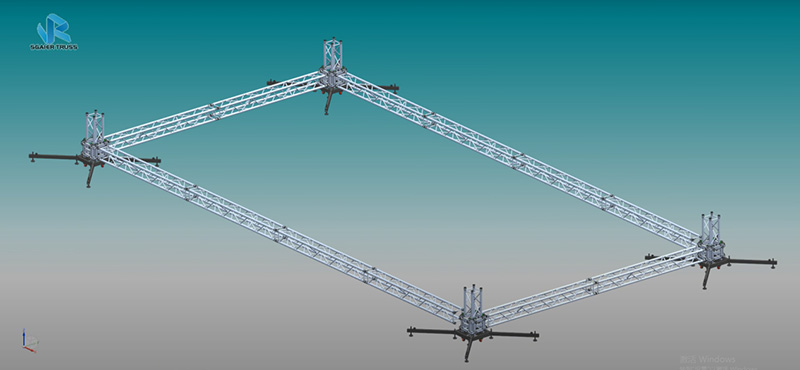
Step 3. Connect 4 truss bases with trusses
Assemble 4 such column bases and connect them with trusses of appropriate length.
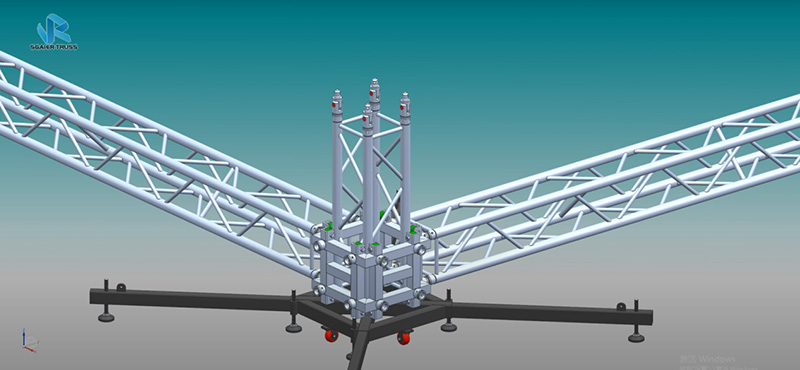
Step 4. Put column hinges
Put 4 hinges on each column to connect the second part of the column.
Step 5. Erect second column and hoist
Erect the 4 second part columns and install hoist at the top.
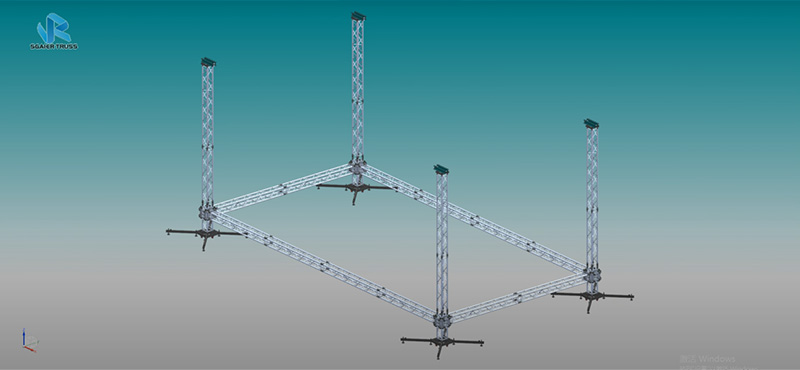
Step 6. Use hoist to lift frame for stabilizer installation
Install and use the hoist to raise the truss frame to a height that can install the stabilizer.
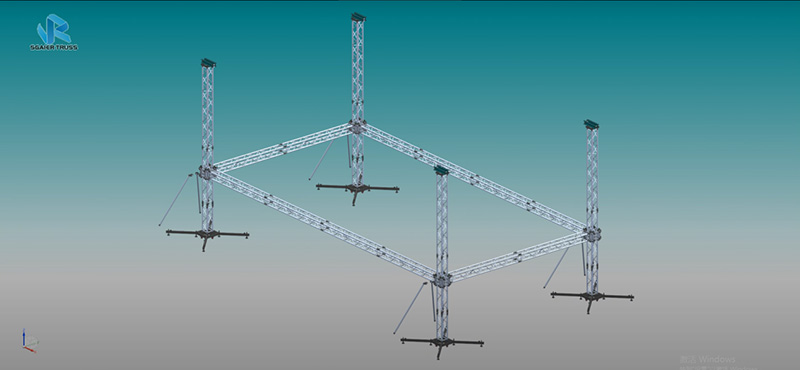
Step 7. Assemble 16 stabilizers & raise to final height
Assemble 16 stabilizers and continue to raise the truss frame to the appropriate height to complete.
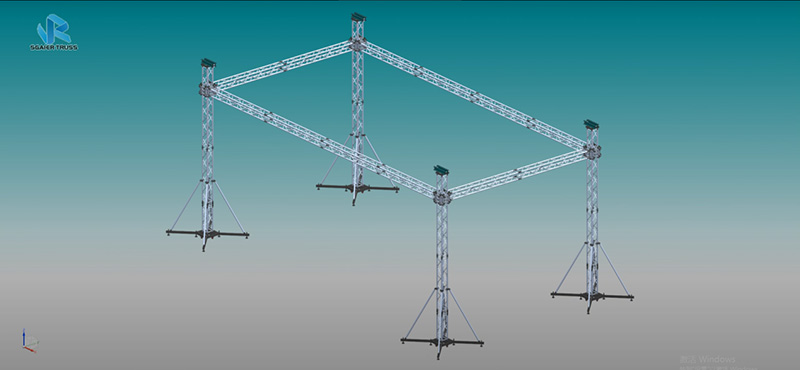
In short, installing aluminum trusses requires the assistance of multiple people and should be installed on a hard and flat ground; prepare the accessories and follow the instructions so that you won’t go wrong.
Keywords: aluminum truss
Originally published 05 Jul 2024, updated 05 Jul 2024.
11
Founded 11 years ago
155
Exported to 155 countries
12600+
Served 12600+ customers
10000
Built a 10,000 ㎡ automated factory