29 Jun 2024
The 6-column roof trusses are the most complex trusses in this series. It has more accessories and connection points.
Step 1. Mount the base supports
Start by assembling the 8 extending legs onto the base.
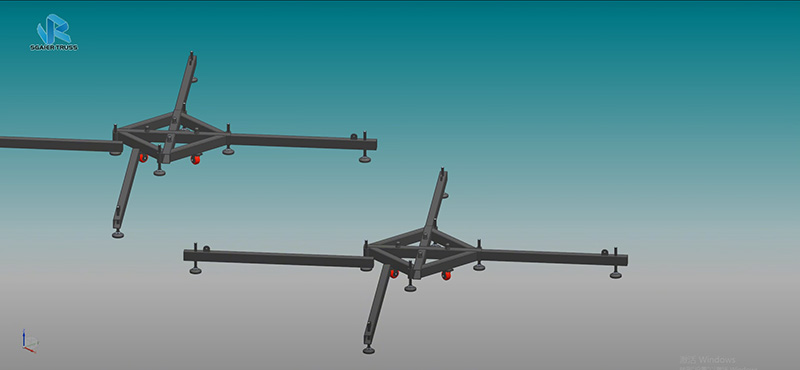
Step 2. Erect short columns and attach the sleeve blocks
Attach short truss columns to the base and then fit a sleeve block onto it.
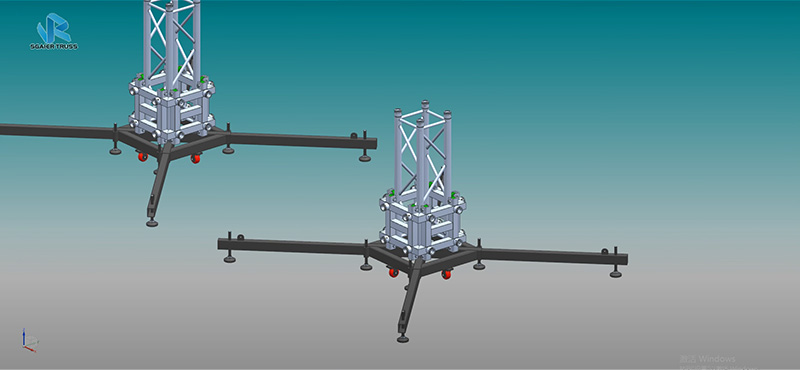
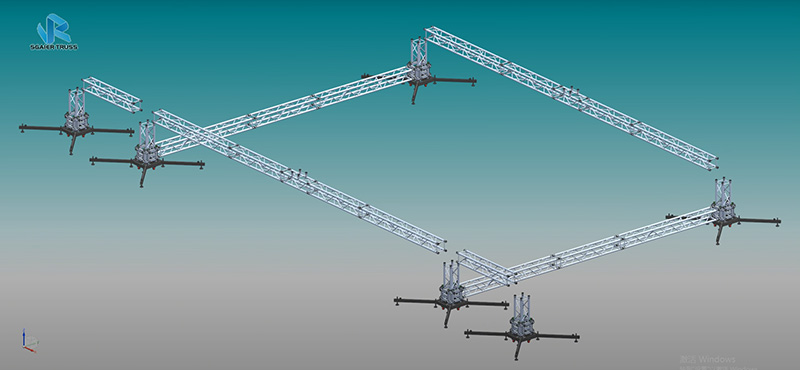
Step 3. Connect 6 truss bases with trusses
Construct 6 of these column footings and interconnect them using trusses of the necessary length.
Step 4. Connect the roof columns and beams using 4-way corners
Install the roof columns and beams in the middle and connect them with 4-way corners.
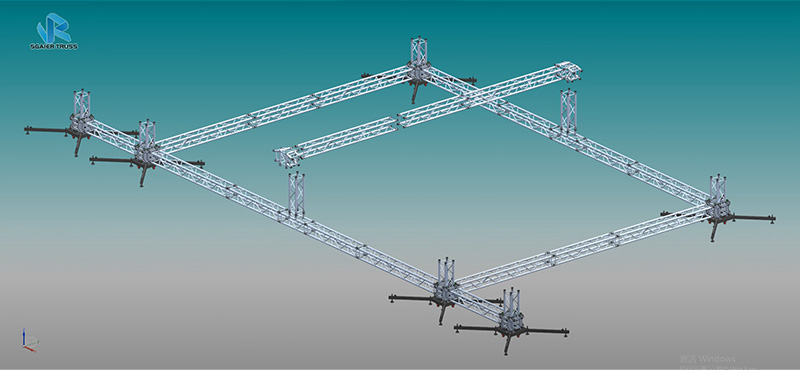
Step 5. Install double clamps
Install double clamps at the connection between the roof beam and the rectangular truss to secure them.
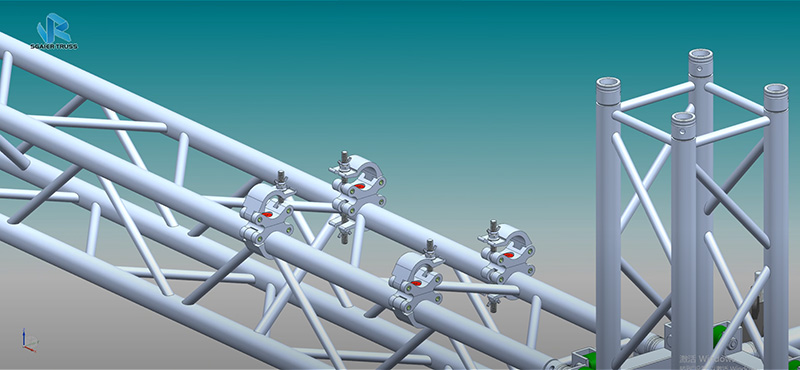
Step 6. Build roof beams
Build and fix the 4 main roof beams and 6 secondary roof beams.
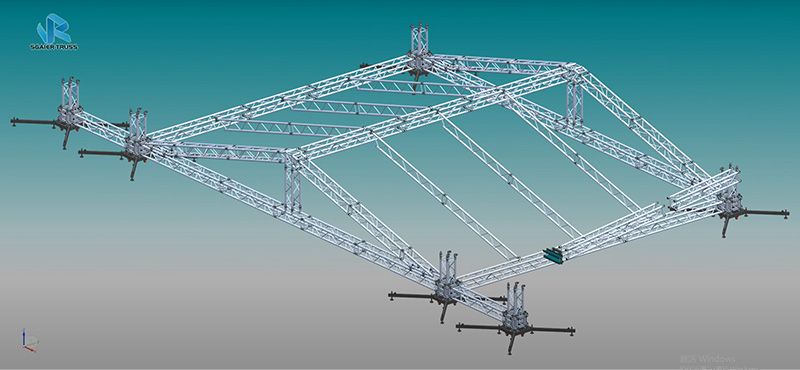
Step 7. Put 4 hinges
Put 4 hinges on each column and tilt it in the installation direction.
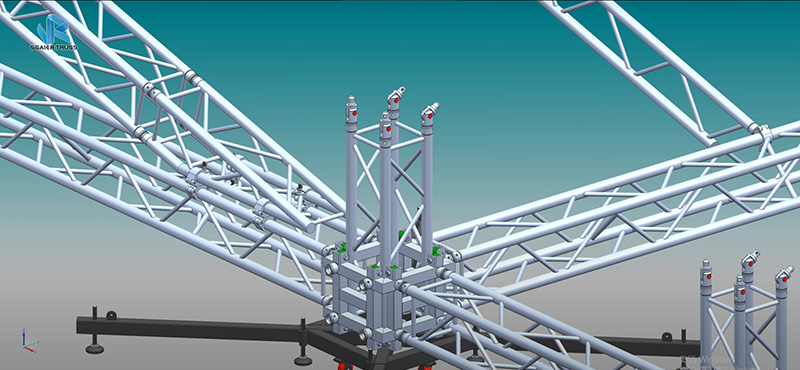
Step 8. Install the second part of the column and hoist
Install one side of the column first, fix it with a crane and then install the other side and remember to install the hoist at the top of the column in advance.
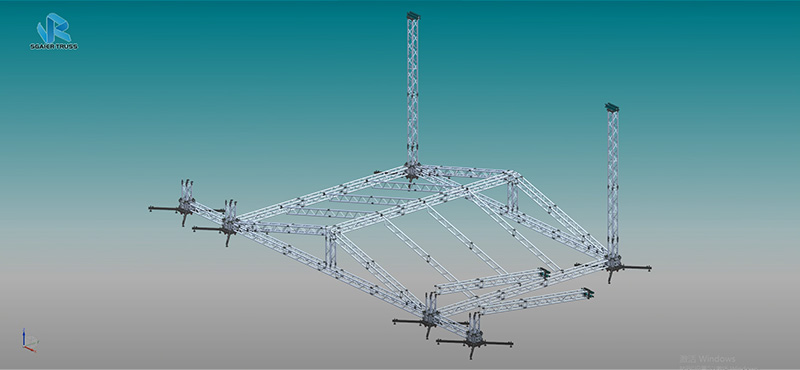
Step 9. Raise the roof truss
Use the hoist to raise the roof truss to a height that can install the stabilizer.
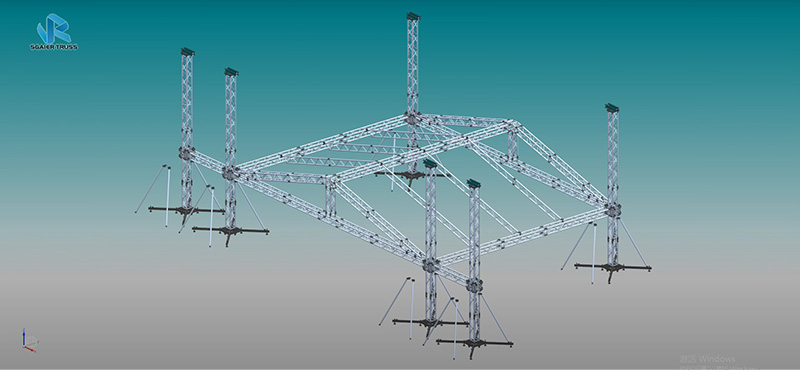
Step 10. Install stabilizers and continue to raise the truss frame
Install 24 stabilizers and continue to raise the truss frame to the appropriate height to complete.
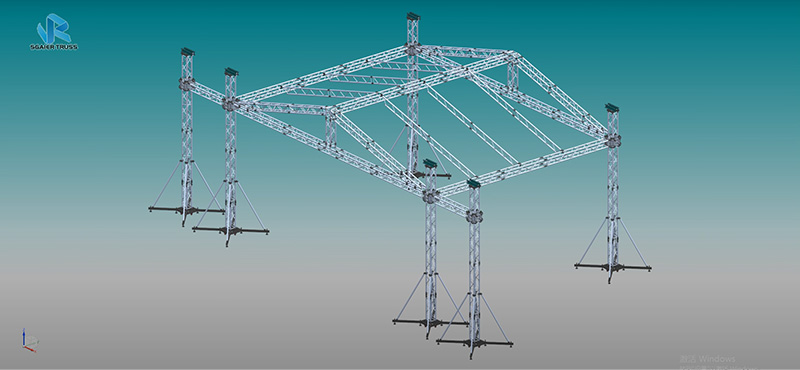
Now you obviously know how complicated it is to install a 6 post roof truss. But don't worry, these products are all similar so you can do the easy part first and then the hard part and you will definitely succeed.
Keywords: truss
Originally published 29 Jun 2024, updated 29 Jun 2024.
12
Founded 12 years ago
155
Exported to 155 countries
12600+
Served 12600+ customers
10000
Built a 10,000 ㎡ automated factory